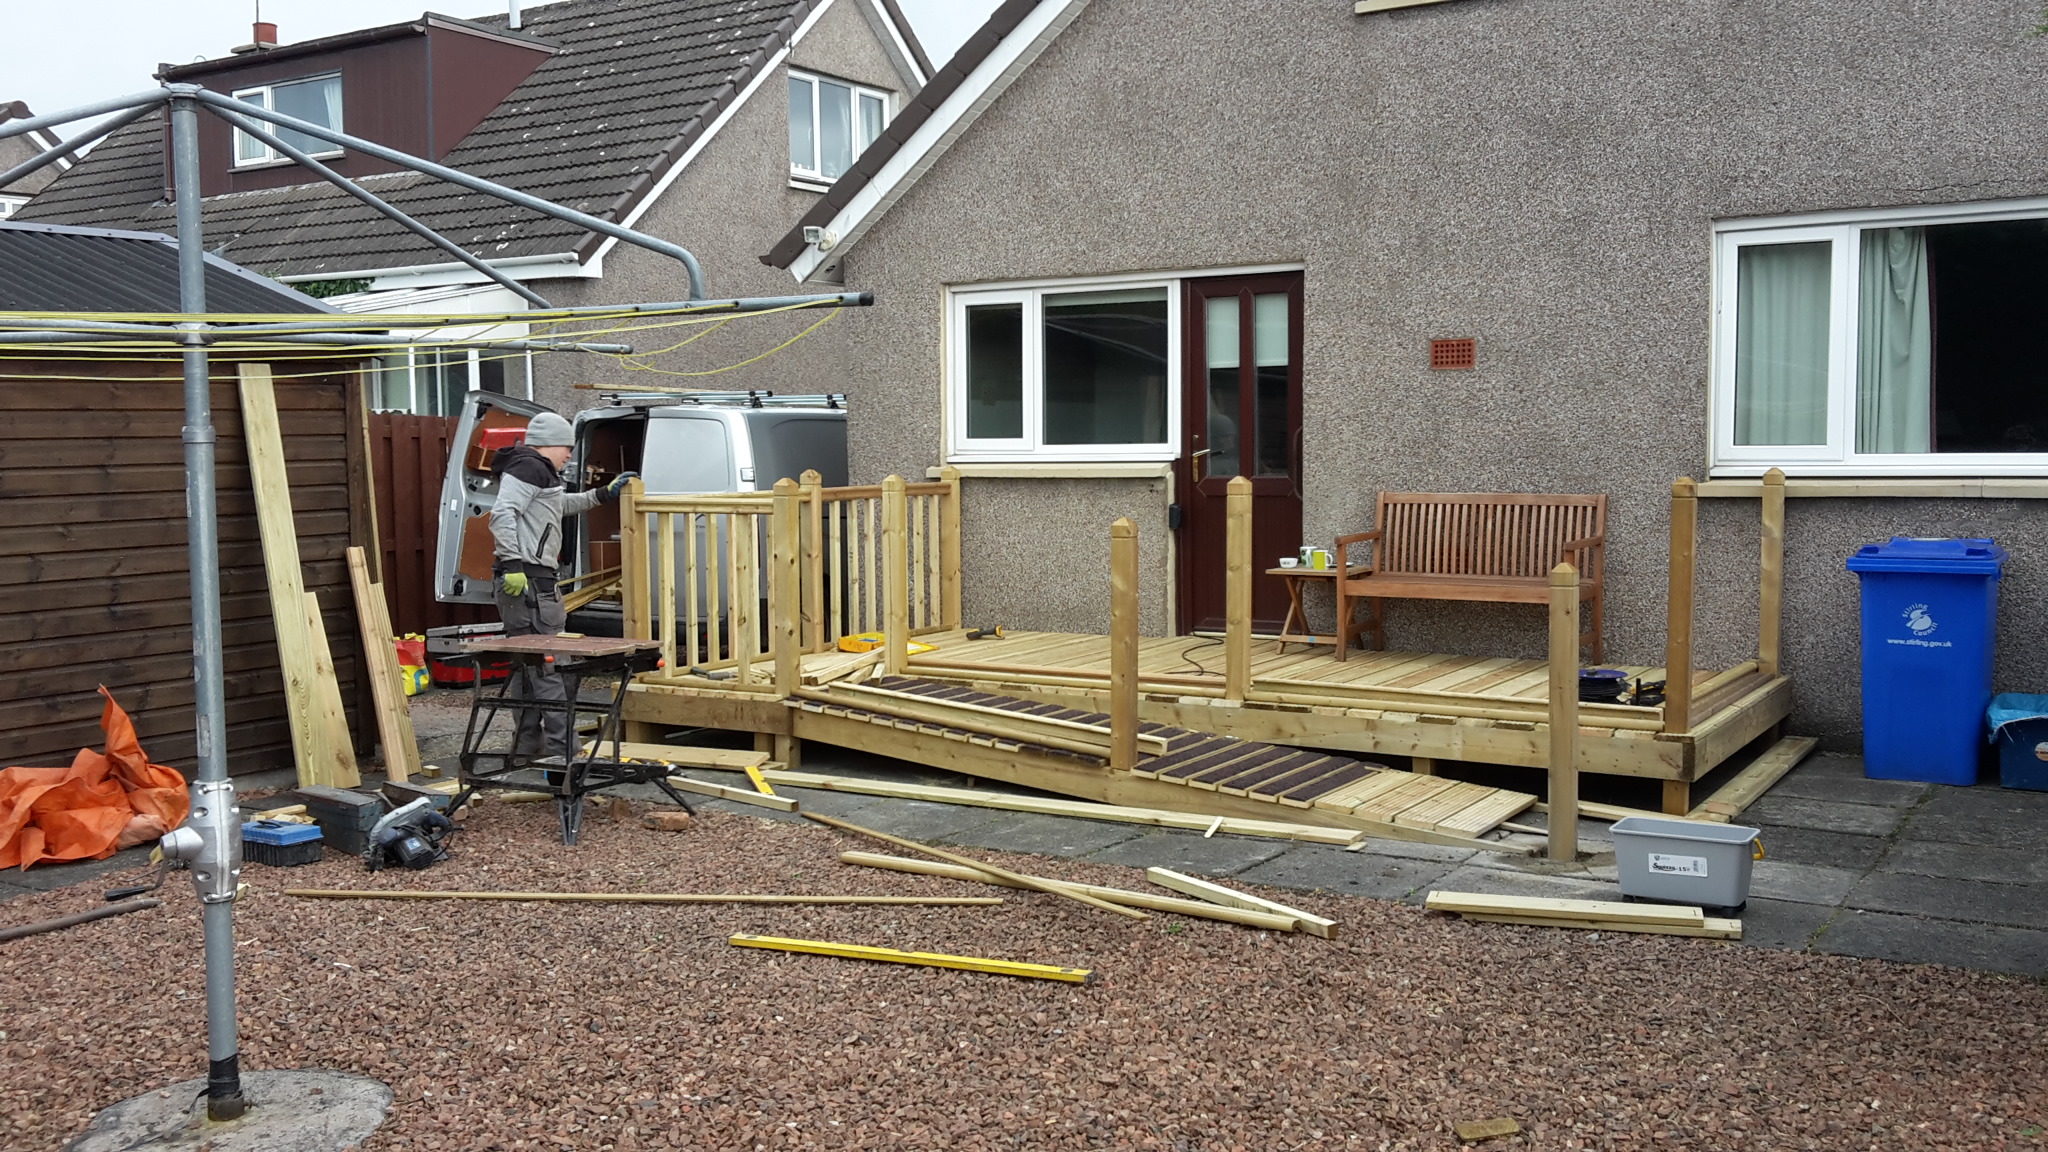
Here we have an example of a total room renovation from start to finish, rooms looked really dated, and the roof had hardly any insulation. So following our bathroom renovations all was gutted and replaced with a brand new everything! New floor (burnt out design), new walls, new ceiling with open plan right up to the roof ridge, new wiring together with TV and network cable, smoke alarm etc… This post shows an extensive set of photographs as well as a couple of videos shot showing the various stages of the renovation with commentary explaining the stages of the work, the final result is quite spectacular! As of today the room is pretty much terminated, but, as always, there still are snags to deal with, the most impressive result is that the insulation work really made a huge difference, coming from a drafty and generally cold upstairs to a room that is draft proof and generally needing little heating, we planned and fitted 2 radiators (see videos) and, as of November 2021 they have not been turned on; a combination of downstairs heating and bathroom door being left opened with a bulky cast iron radiator provides sufficient heat to keep the room nice and cosy. So much so that we’re probably going to remove one of the radiators as it is likely to be redundant.
All in all when the house is completely renovated (downstairs is next, keep a watch!), we’re confident that our heating bill will be very low.
Bedroom renovations
A view of the landing with the newly renovated bathroom at the back A view of the old “build in wardrobe” A view of the landing with lovely fake wood flooring linoleum leading to the main bedroom A view of the landing with lovely fake wood flooring linoleum leading to the main bedroom A view of the landing with lovely fake wood flooring linoleum A shot showing the room as it was before transformation A shot showing the room as it was before transformation A shot showing the room as it was before transformation with plans of future layout on wall like Egyptians used to do. A shot showing the room as it was before transformation A shot showing the room as it was before transformation, here a photo with a bedroom fireplace A shot showing the room as it was before transformation A shot showing the room as it was before transformation A shot showing the room as it was before transformation A shot showing the room as it was before transformation A idea of the size of this cottage upstairs without obstacles Lovely view of the ceiling joists and rafters and maze of wires! Will it ever be back together? Lovely view of the ceiling joists and rafters, chimney column on the left Detailed view of the rafters and joists Detailed view of the rafters and joists Thorough clean by hand before applying new cavity insulation on bare roof A view of the chimney surrounded by roof rafters and former ceiling joists with some wiring including the main power cable to the building here in black Snowy weather in February 2021, not much warmer inside! Detailed view of the rafters and joists Detailed view of the rafters and joists A view of the floor completely burnt to achieve the spectacular “ancient look”, removed the bedroom fire place, insulation (of some sort) recycled from the ceiling to the sides of the room. A view of the floor completely burnt to achieve the spectacular “ancient look” Floor being brushed off by hand, dirty business with spectacular results! A view of the future bedroom with floor burnt out for “ancient effect look” still needing brushed to remove soot from it A view of the floor completely burnt to achieve the spectacular “ancient look”, removed the bedroom fire place, insulation (of some sort) recycled from the ceiling to the sides of the room. Wiring, the blue one is a network cable for the TV, one can see the 30 something sheets of plasterboard to go on the ceiling and walls, cavity insulation in between the rafters before fitting PIR sheets Rooms ceiling and wall fully insulated with 100mm rock wool, then a 50mm PIR sheeting will be applied Rooms ceiling and wall fully insulated with 100mm rock wool, then a 50mm PIR sheeting will be applied Rooms ceiling and wall fully insulated with a 50mm PIR sheeting. Rooms ceiling and wall fully insulated with a 50mm PIR sheeting. This is the main body of the central chimney being stripped bare This is the main body of the central chimney being stripped bare A view of the central wardrobe being built and side walls primed A view of the central wardrobe being built and side walls primed A transitional phase of the plastering of the ceiling: filling the gaps Dormer window fully plastered and filled Central wardrobe shoe cupboard Central wardrobe shoe cupboard Central wardrobe shoe cupboard and space for a 65″ flat screen TV A view through the room and into the bathroom at the rear of the shot A view of the central wardrobe, padded with decorative patterned fabric Bedroom with in built wardrobes surrounding the bed, door with padded with decorative patterned fabric A view through the room and into the Bedroom at the rear of the shot Bedroom with in built wardrobes surrounding the bed, door with padded with decorative patterned fabric A view of one of the dormer windows in the bedroom with padded wardrobe on the side of it A view of one of the dormer windows in the bedroom with padded wardrobe on the side of it Bedroom with in built wardrobes surrounding the bed, door with padded with decorative patterned fabric Bedroom at night A wide shot of the back of the room, with central wardrobe and one of the dormer windows, skylight on the right. A view of the central wardrobe finished to be painted inside and bedroom area at the rear of it. A shot of the dormer window on the front side of the bedroom, together with a dressing table and the central wardrobe on the right